Calendars are a key part of efficiently scheduling rides. Once you set up any needed calendars and assign them to the appropriate locations, you will be able to schedule Ride Series and be confident that no rides will be scheduled for days off.
Understanding calendars
A calendar in RideIQ is a representation of all the breaks and days off when no rides will be needed. You can create as many calendars as you need to capture different schedules.
- When you add a calendar to a Ride Series (either directly or by assigning it to a location) that Ride Series will not have repeating rides scheduled during time off. Any existing rides during time off will be canceled.
- If you make changes to a calendar, associated Ride Series will automatically adjust by canceling or scheduling rides.
- Need to schedule a ride during time off? You can still schedule an individual ride if needed.
- If you remove a calendar from a Ride Series, rides will be scheduled on any days that were previously time off.
For example, Washington County Schools creates a district calendar that includes all breaks and individual days off. They assign that calendar to each of three schools, as shown below:
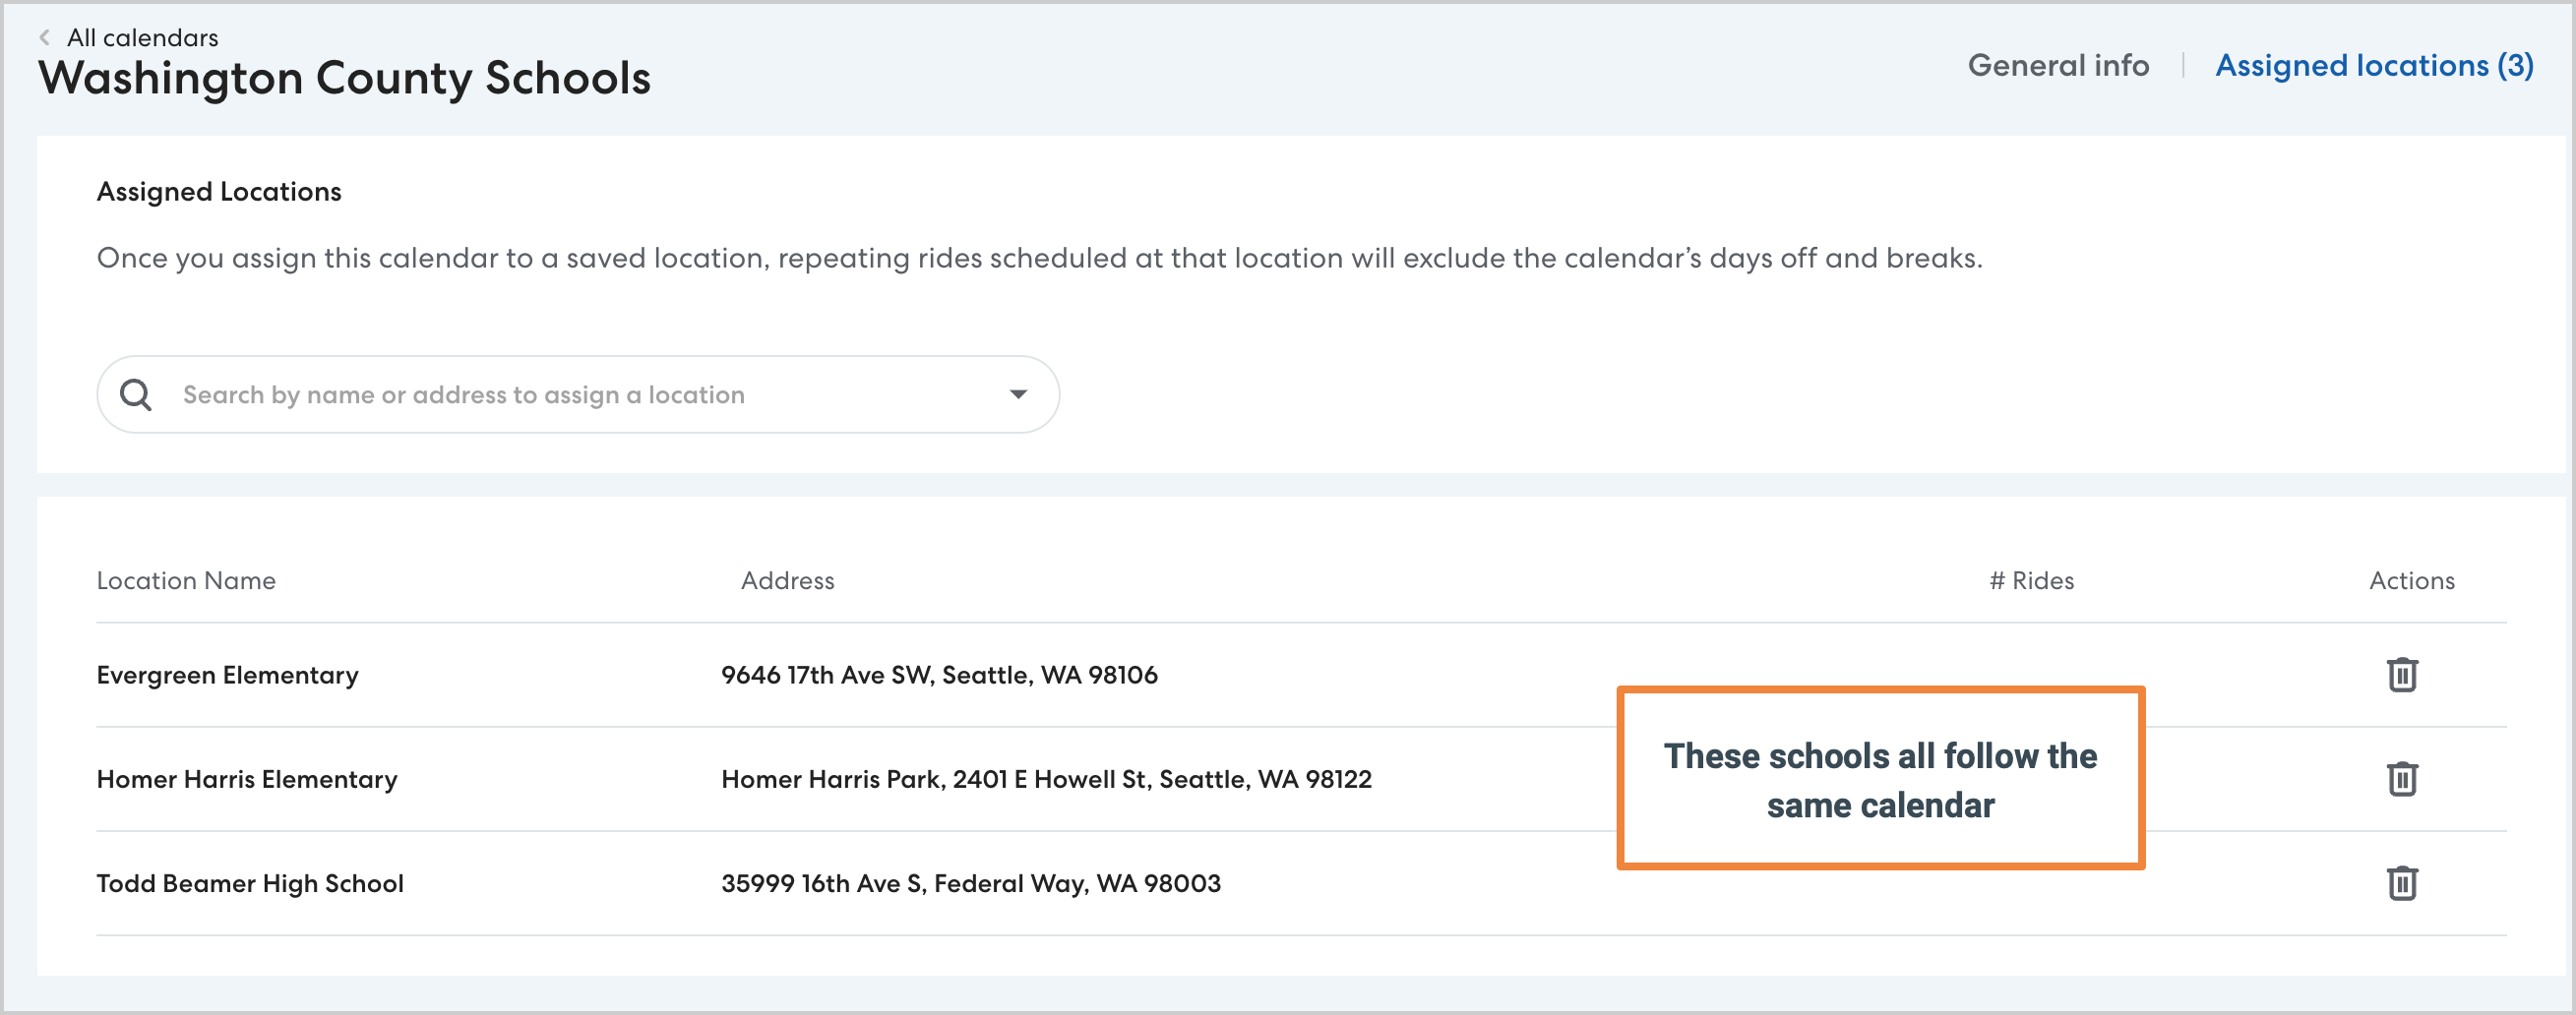
The district then begins scheduling rides to and from the three schools. When they add one of the schools as the pickup location for a pickup ride or the drop-off location for a drop-off ride, RideIQ automatically schedules rides only on days that school is in session, following the assigned calendar.
Later in the year, an additional teacher in-service day is added to the calendar. Rather than individually updating each of the many Ride Series they have scheduled, the district can simply update the single shared calendar. RideIQ automatically cancels rides on the new in-service day for all affected Ride Series, with no additional action required.
How to create a calendar
Follow the steps below to create a new calendar:
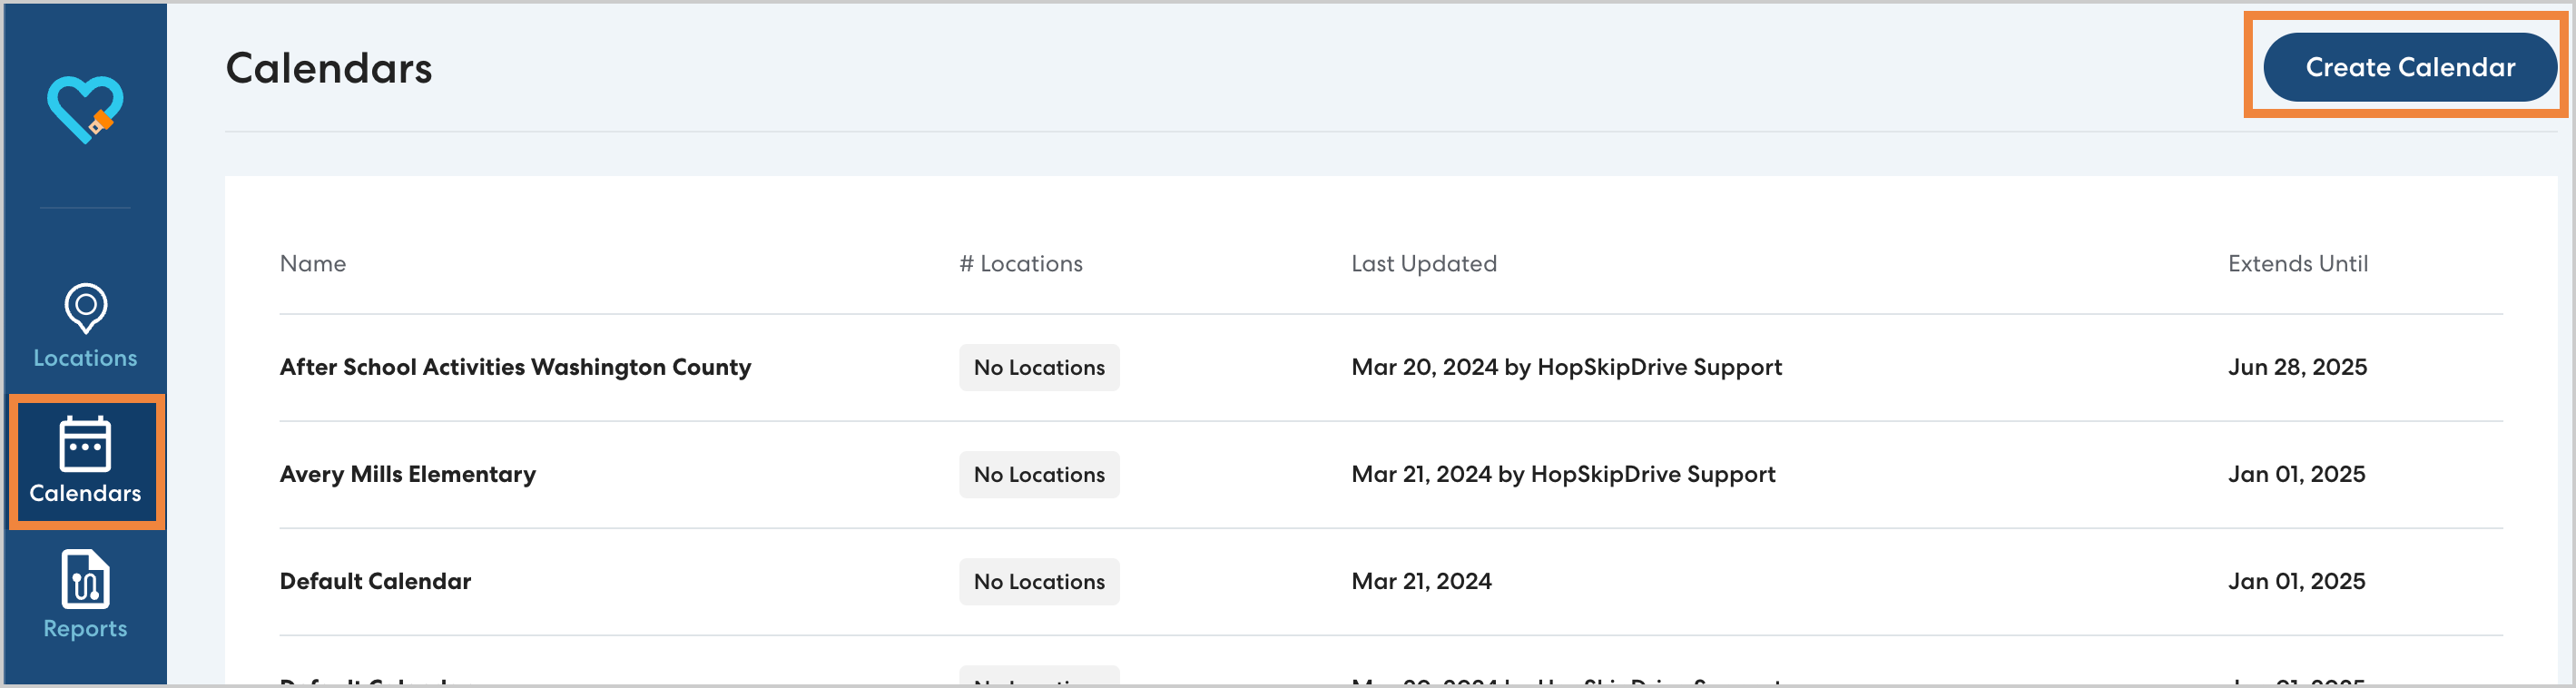
- Navigate to Calendars and click Create Calendar.
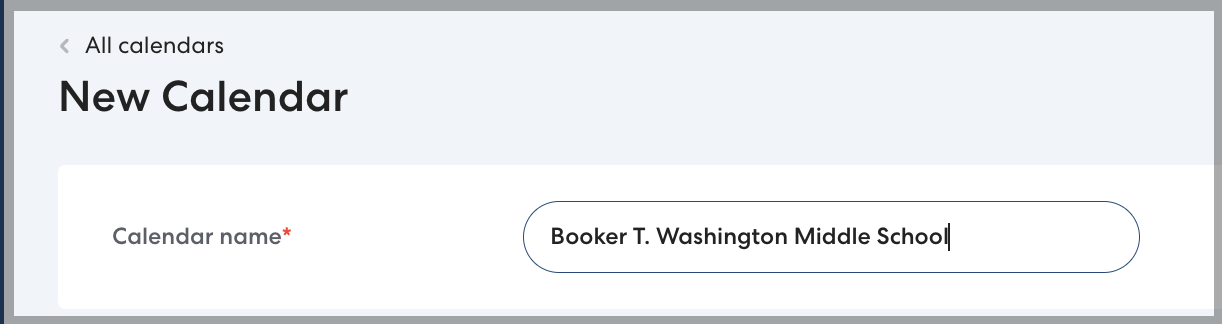
- Type a descriptive name for the calendar, then click Save.
You'll see a list of default days off. These are days that HopSkipDrive is closed and no rides are offered. These days cannot be edited or deleted.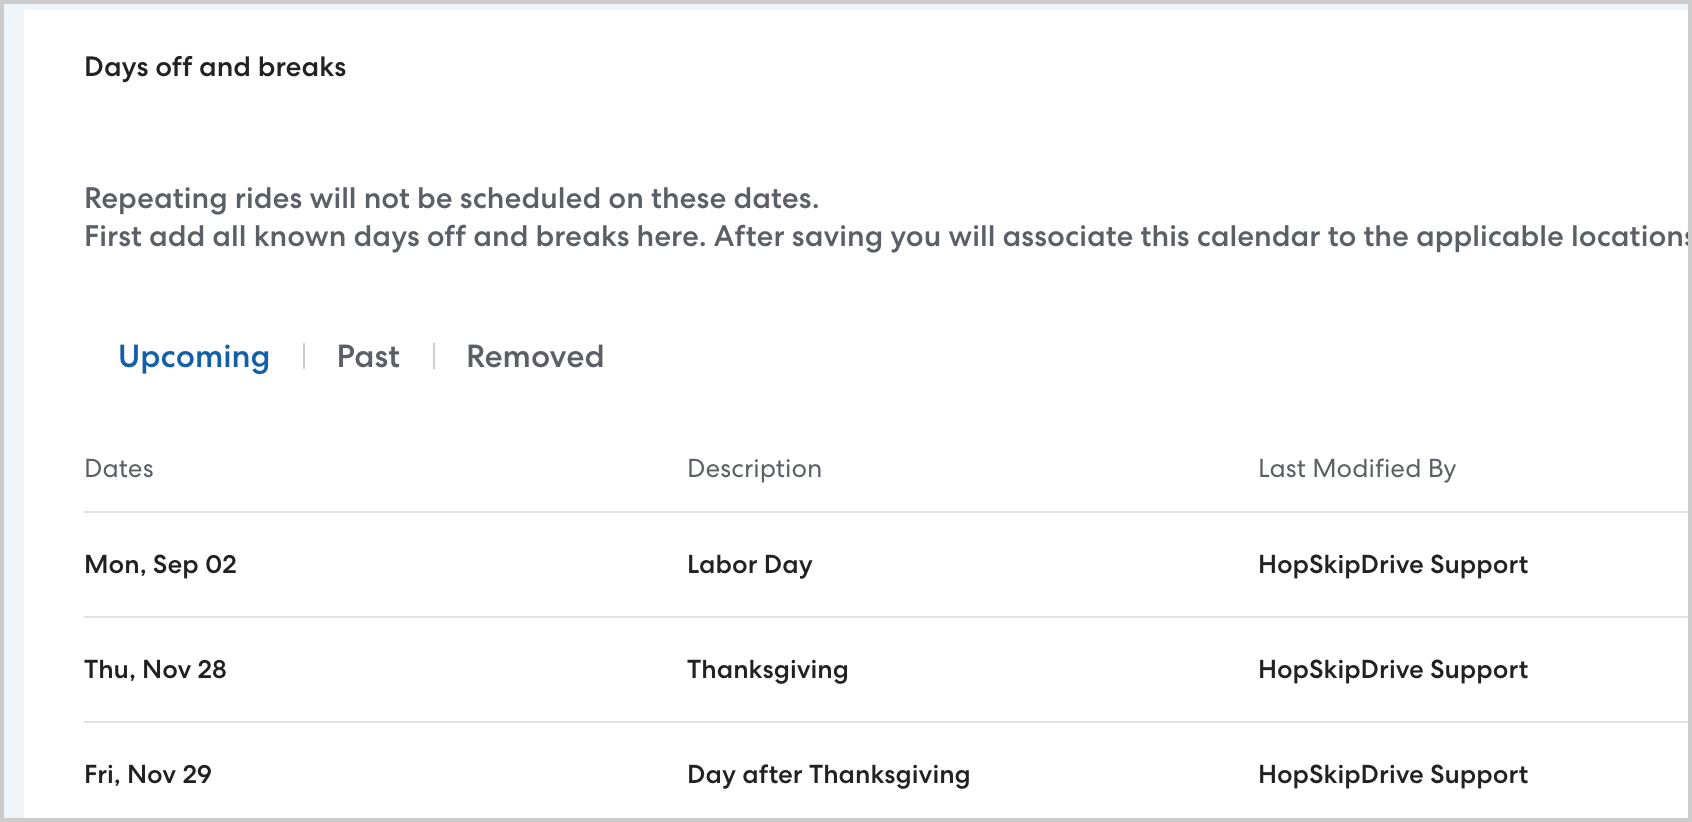
Add a time off to a calendar
You can add both individual days off, such as in-service days, and extended breaks, such as spring break, to a calendar. Follow these steps to add time off to a Calendar.
| Note: Do not add early release or late start days to calendars. To learn how to set up ride series to account for early out or late starts, see this article. |
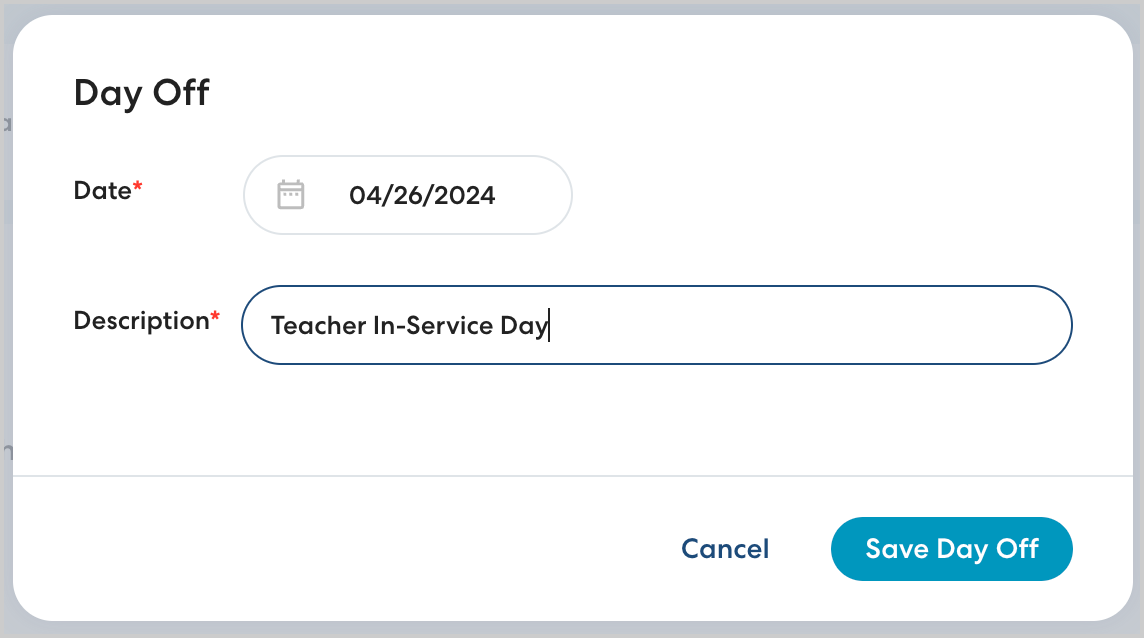
- To add an individual day off, click New day off. To add a multi-day break, click New break.

- Select the date(s) for the day off, then type a descriptive name. Click Save to confirm.
- Continue adding breaks and days off as needed. Your changes are saved automatically.
Once your calendar complete, you can assign it to locations or assign it as you schedule a ride series.
| Tip: You can continue to use the same calendar every school year-- no need to create a new calendar and assign it to locations again! Just be sure to add the new breaks and days off at the beginning of the year. Learn more in this article. |