As part of your ride management, it can be helpful to have quick access to certain reports you check daily. To efficiently see the data you reference most often, you can set a saved report as your default report view.
When a saved report is set as the default, it will load automatically when you open the Reports page in RideIQ. Default reports apply only to your account. Other users in your organization can set their own default report views.
How to set your default report view
Follow the steps below to set a report as your default view:
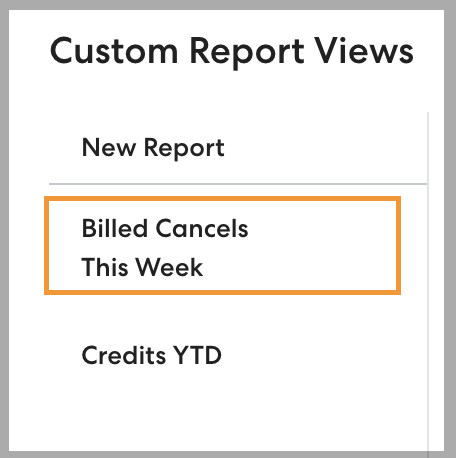
- Click Saved Reports, then click Manage Views.

- Select the desired report from the list of saved reports, or click New Report and follow the instructions in this article to create a new saved report.
- Select use this view as default.

- Click Save.
How to edit or remove your default report view
In the Custom Report Views list, your current default report view is marked with a house icon. 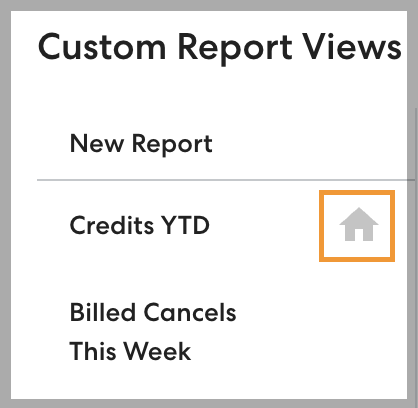
- To set a different report as your default view, go to Manage Views, select the desire report, and select use this view as default.
- To remove your default report view, select your current default report view and click to clear use this view as default.